Many vehicles made in Die Cast format, are susceptible to get improved. Some of their pieces are bigger than they should be in this scale. Non-slip sheets, rear-view mirrors, windows, sleeves , door handles and a very big etc.
In this first episode we are going to see how to improve the non-slip sheet from a truck cabine. Its scale is 1:50, and we are going to need very common and simple tools which probably every modeller have in their workshop.
Step 1. View of the truck platform. We can see the non-slip sheet in the centre of the truck, its thickness is over the limit, being out of the scale.
Step 2. Picture where we can see the piece which we are going to remove and replace.
Step 3. With the tweezers we will apply some pressure, making a lever to be able to jump the small stops and detach the piece.
Step 4. Sheet of the model detached from its original housing.

Step 5. Non-slip sheet ETM 007, available on our online shop.
Step 6. Needed tools to be able to work with this photo etched. Knife, small needle file, metal cut plier, a pencil and a rubber.

Step 7. We set the original piece over the new one, as a stencil, in order to make the shape with the perfect size.
Step 8. We mark with a pencil the outline of the piece.
Step 9. We can see the outline from the piece which we are going to cut later.
Step 10. We cut the piece with the help of our tweezers.

Step 11. Piece cropped and adjusted with the file according to the required size from the hole in the platform.
Step 12. Checking the assembling in the cabine.

Step 13. We are going to paint our piece with steel color. The first step will be priming the piece sith an spray. In this case Mr. Finishing Surfacer 1500 Black, it is a clean and easy system, because we are going to need just two layers, spraying them around 15 cm from the surface. we are going to get a thin and lasting layer.
Step 14. Piece primed and dry. It is convenient to let the primer dry at least 5 hours.
Step 15. Now we are going to apply an special paint from Mister Hobby, the color 213 Steel. As we will see later, these paints are polishable with a cotton suede, getting a very realistic finish.
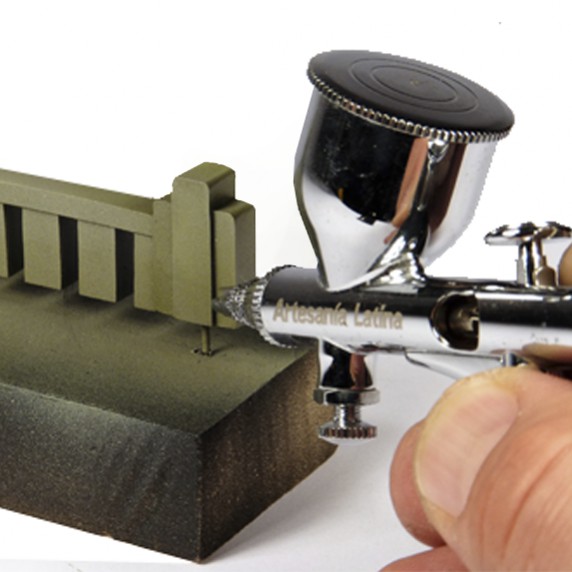
Step 16. We apply the paint with an airbrush, and we will see that the finish is amazing.

Step 17. With a clean cotton suede, we rub the surface softly, and we will see how the edges start to get that characteristic polish steel color.
Step 18. We can put the new piece with the help of a double-sided tape, or also we can paste it with any cyanocrylate cement.
Step 19. Final picture of our piece finished and in its place. Comparison with the original piece are very cruel.


